Showing posts with label Yuzu. Show all posts

Monday, 25 May 2015

Homemade Cherry Garcia ice-cream and Yuzu ice cream (without ice-cream maker)

It's been 2 weeks since my last post. I was busy with taking care of my mum who had a knee replacement operation. She is recovering well and resting at home. Thank you to family and friends for their prayers and well wishes.

The weather in Singapore for the past few weeks has unbearably hot. Something cold and sweet is heaven on a hot day. I have always wanted to make my own ice-cream but most recipes without ice-cream makers require beating the ice-cream base 2 - 3 times. I tried that and found it too troublesome for some ice-cream. I saw the recipe by chance online which only requires 2 ingredients and thought I must give it a try.

I decided to make a Cherry Garcia version as that's a favourite since I was introduced to Ben & Jerry's a decade ago and also a Yuzu version as I can't get them from the supermakets.


Homemade Ice-cream (makes about 1.5litres)

Ice-cream base:
2 cups heavy/whipping cream
1 can of condensed milk (400g)
1 tsp vanilla extract

Cherry Garcia:
1/2 cup pitted cherries (fresh/frozen)
1/2 cup good quality dark chocolate

Yuzu:
4 tsp yuzu juice
2 tbsp yuzu tea/jam


1) Refrigerate the whipping cream, condensed milk and your mixing bowl overnight to ensure that they are really cold.

2) Whip the whipping cream using a cake mixer till soft peaks and then add in the condensed milk and vanilla extract. Continue whipping to firm peaks. This is your ice-cream base.


3) Divide the ice-cream base into 2 bowls. In one, fold in the cherries and dark chocolate chunks. In the other, fold in the Yuzu juice and jam.


4) Transfer the ice-cream into containers and freeze overnight or at least 6 hours before serving.
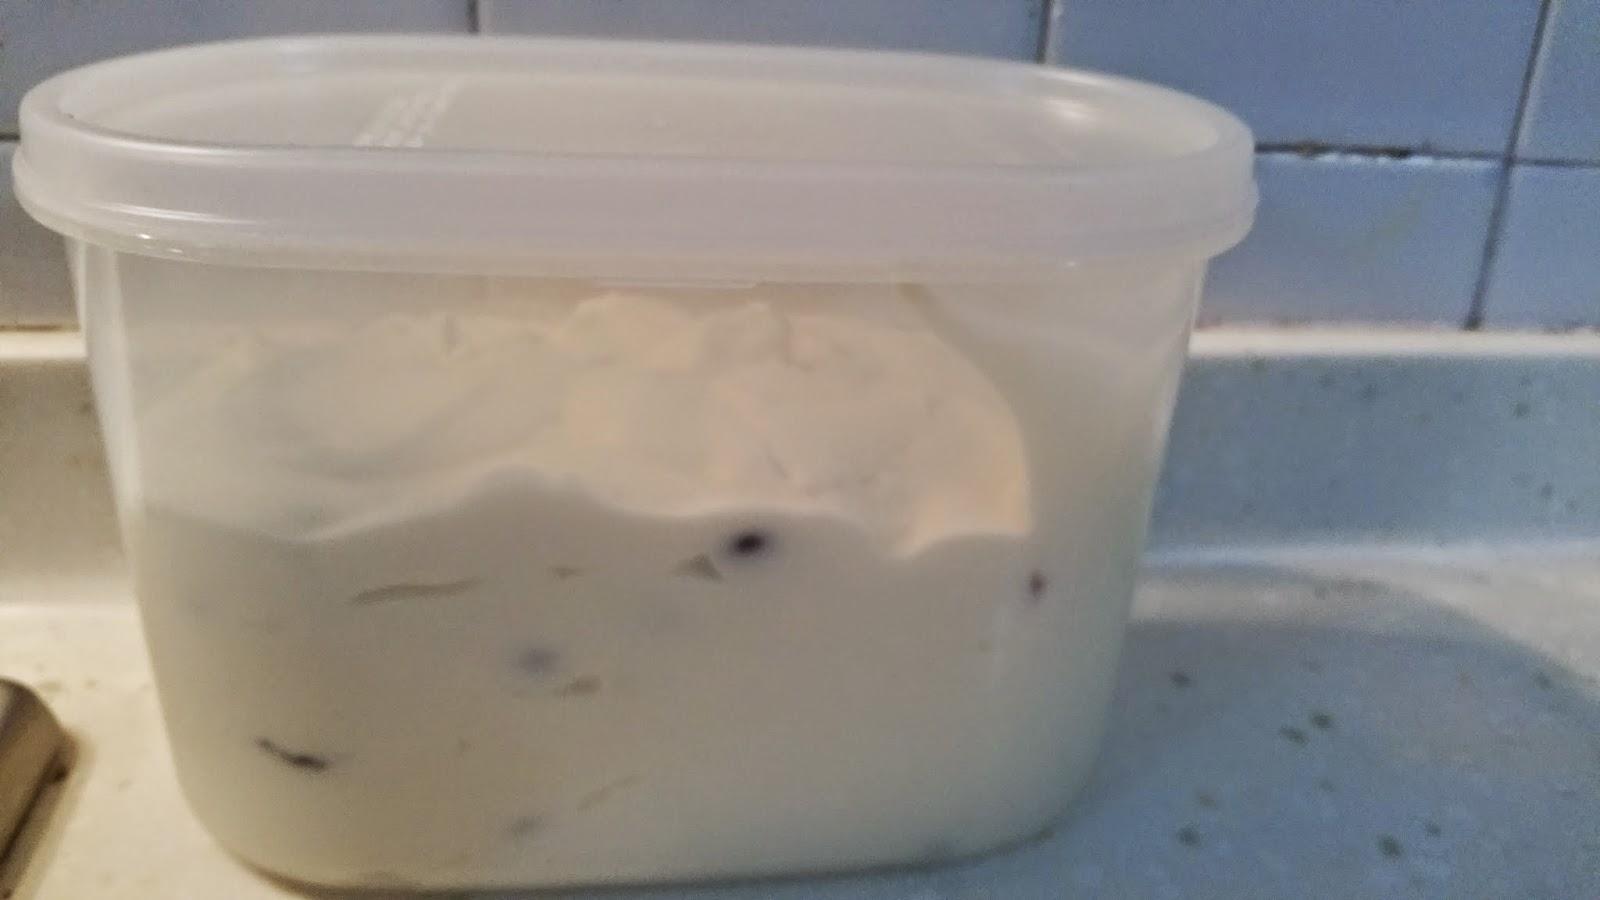


Please pardon the poor lighting in the photos as I made the ice-cream late in the evening. I couldn't wait to try the ice-cream. Had to scoop some out to take the first photo the next day and couldn't resist licking the scoop :)

The verdict? My sis and bro-in-law loved the Cherry Garcia ice-cream (also one of their favourite flavours) but they thought I put in too much chocolate chunks. I have adjusted the chocolate quantity for the recipe above. Originally I had a cup of chocolate in there as I am a big dark chocolate lover.
My mum was wondering why 2nd ice cream is citrus in taste and I had to explain it's Yuzu.

I am looking forward to try new flavours once these 2 tubs are finished. I have left them at my mum's so that we can all share the calories :)


Tuesday, 25 November 2014

Yuzu again: Yuzu Swiss Roll

I had a lovely time this afternoon baking with a friend whom I made during my work stint in Shanghai. She was interested in baking but due to health concerns, she has to reduce on butter and cream. We had lunch last week and she wanted to learn some healthier cakes. I suggested chocolate cupcakes with buttermilk and Yuzu Swiss Roll without cream as she loved the Yuzu Log Cake which I gave her.

We had so much fun chatting while baking that I almost forgot to add the vegetable oil to the Swiss roll. We added the oil after folding in the stiff white egg and luckily the Swiss roll turn out successful.

In the past, I had problems rolling swiss roll without cracking or having the swiss roll stick to the baking paper. After doing some research online, I finally managed to make a beautiful swiss roll. Today, I will be sharing with you the tips I have learnt.


Yuzu Swiss Roll (serves 8-10)
50g milk
30g vegetable cooking oil
50g caster sugar
3 large eggs (separated, ensure there is no trace of egg yolks in the egg whites)
1/4 tsp cream of Tartar
50g cake flour (sieved)
5 tbsp Yuzu tea
Some icing sugar


1. Pre-heat oven at 160 deg C
2. Heat 15g caster sugar, vegetable oil and milk in a pan. Stir till sugar dissolves. Remove from heat.
3. Add in the cake flour and stir till well mixed.
4. Mix in the egg yolks one at a time.
5. In a separate mixing bowl, beat the egg whites and Cream of Tartar till frothy. Add in remaining 35g of caster sugar and beat till stiff.
6. Fold in 1/3 of stiff egg white to the egg yolk mixture. Take care not to deflate the egg whites. Continue folding in the rest of the egg whites.
7. Line a 9" by 13" tray. Pour the batter into the tray.
8. Bake at 160 deg C for 20-25 mins.
9. Once the cake is baked, take out of oven immediately and drop the tray from a height for a few times (to prevent shrinkage).
10. Prepare a sheet of baking paper similar in size to the tray. Sprinkle some icing sugar on the baking paper.
11. Invert the baked cake onto the new sheet of baking paper and remove the old baking sheet.
12. Roll the cake while it's hot and leave it to cool rolled up.
13. Once the roll is cooled, unroll the cake and spread the Yuzu tea onto the cake. Roll up again and chill in the fridge for an hour before serving.

Optional: You can spread some whipped cream onto the cake prior to spreading the Yuzu tea and for the Christmas season, you can frost the outside with whipped cream and decorate it into a log cake.


This is the cake without the whipped cream which we made today. Pardon the poor lighting. Due to the rain, I couldn't take nice pictures. We sprinkled some icing sugar on top of the swiss roll instead of frosting the roll.

I am enjoying a slice of this soft, fluffy and Yuzu filled goodness while writing this post :)


Tuesday, 18 November 2014

Yuzu Chiffon Cake

Rain rain rain...... This is the 2nd week that we are experiencing rain in the afternoons. Very cooling weather though the wet weather is a damper for any outdoor activities... the poor school children who are cooped up at home during the school holidays.

While posting the last post, I noticed that I haven't posted any cakes or cookies recipe for some time. I have been baking quite regularly these past weeks but somehow haven't posted them. This has been a rather productive baking week for me. I was perfecting the cookie recipe for my Christmas Goodies baking class and have also managed to create a new flavour for Christmas Log Cake. I should probably name it the Baker's Favourite as the log cake was created especially for me :) I have been trying to control myself not to finish the whole cake. I have also been busy organising my very own first baking class and also a 1st birthday party for Chocs & Cheeze. How time flies!


As mentioned in previous posts, I love citrus and Yuzu is one of my favourites. I have Yuzu wine, Yuzu honey and Yuzu tea at home! My newly created log cake is Yuzu Log Cake! Been wanting to bake a Yuzu Chiffon Cake for the longest time and I glad I baked it a month ago when I had an overseas guest over at my home for dinner. It also gave me a chance to try out my new heart-shaped Chiffon pan from Tokyo. The cake is very soft and fluffy, my overseas guest gave it a thumbs-up and packed some for her colleagues and breakfast the next day!


I followed the recipe from here with some slight modifications.

Yuzu Chiffon Cake (21cm Chiffon pan)
4 large Eggs (separated)
1/4 tsp Salt
80g Caster Sugar
5 tbsp Vegetable oil
100g Yuzu tea 
 5 tbsp Hot Water
120g Cake flour
1 tsp Baking powder
1/2 tsp Cream of Tartar


1. Pre-heat the oven at 170 deg C
2. Mix the Yuzu tea with the hot water and cut the yuzu peels into small pieces.
3. Beat the egg yolks, 30g sugar and salt together till well mixed.
4. Add the Yuzu tea mixture into the beaten egg yolks and mix well.
5. Sieve the Cake flour together with the baking powder and add to the egg yolk mixture using a hand whisk.
6. Beat the egg whites and Cream of Tartar till formy and then add the 50g sugar and continue beating till peaks formed.
7. Fold 1/3 of egg white mixture at a time into the egg yolk mixture gently. Be careful not to deflat the egg whites.
8. Pour the batter into a Chiffon pan (no need to grease and line pan) and bake at 170 deg C for 45 minutes.
9. Once the cake is baked, take it out of the oven and invert it immediately to prevent sinking.
10. Remove the cake from mould once it's cooled.


I love this cake so much that I baked it again the next day :) The baking of the cake is not difficult but sometimes the un-moulding is a little tricky. Have a try.